Lorem ipsum dolor sit amet, consectetur adipiscing elit. Ut elit tellus, luctus nec ullamcorper mattis, pulvinar dapibus leo.
DESCRIPTION
DETAILS
Reviews
DESCRIPTION
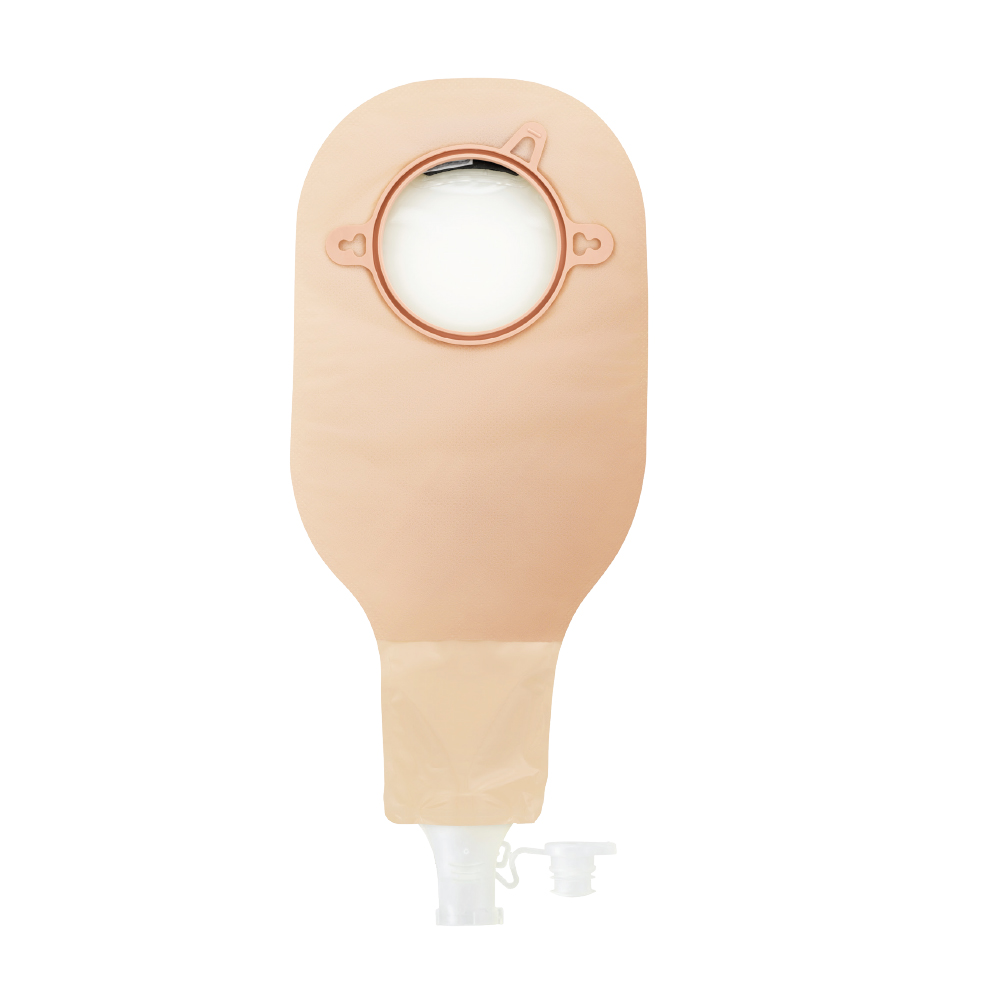
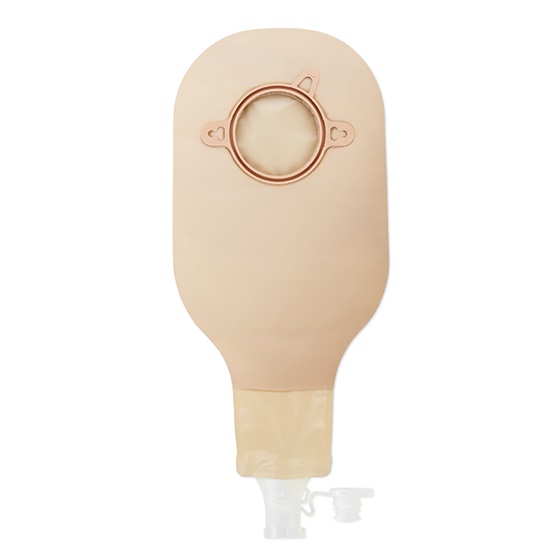
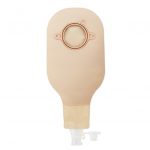
New Image Two-Piece High Output Drainable Pouch Soft Tap Closure with Filter
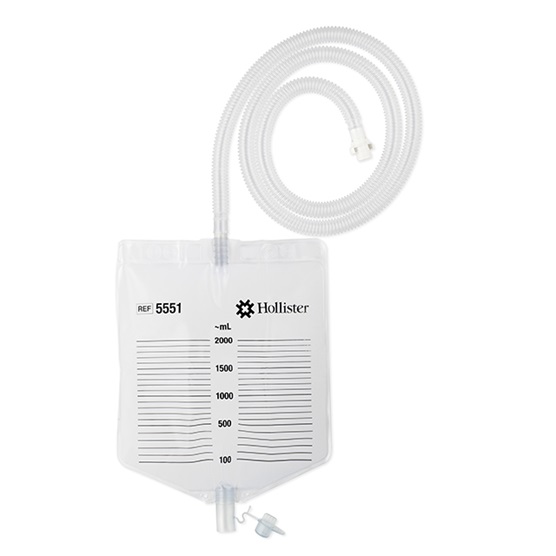
A two-piece, drainable pouching system with an integrated soft tap at the bottom of the pouch, which allows it to be connected to a Hollister High Output collection bag without the use of an adapter. These pouches are most suitable for colostomies or ileostomies with high volume and/or liquid output. New Image pouches have an integrated coupling system; the audible clicks indicate the system is locked in position. The pouch can be connected to flat, soft convex, or convex New Image skin barriers.
Key Features
Soft tap with a 16.5mm inner diameter
Integrated AF300 Filter – allows for a slow release and deodorization of gas from the pouch
Clear with ComfortWeat Panels – provide comfort and discretion
Integrated coupling system to connect with a two-piece skin barrier of choice
Belt Tabs – permit easy attachment of an ostomy belt
Not made with natural rubber latex
How to Use New Image Two-Piece High Output Drainable Pouch Soft Tap Closure with Filter
Clean the skin with water or with gentle soap as recommended by your healthcare professional. Rinse and dry thoroughly. Do not use oils, powder, lotion, or lotion-type soaps on the skin.
Measure the stoma using a stoma measuring guide before every barrier application.
Trace the determined barrier size opening onto the skin barrier. The skin barrier should fit where the skin and stoma meet. Verify that no skin is showing between the skin barrier and the stoma to help prevent leakage and skin irritation.
Using small curved scissors, carefully cut an opening in the skin barrier to match the pattern. Do not cut beyond the line on the release liner.
Remove the release liner from the skin barrier.
Center the skin barrier opening over the stoma in a diamond shape. For tape bordered barriers, remove the backing paper on both sides and press adhesive against the skin.
Apply gentle pressure to the skin barrier for about a minute for best adhesion. Attach the pouch to the skin barrier by engaging the lower edges of the pouch flange and the skin barrier flange. Press the two flanges together. A series of “clicks” will confirm you are doing it correctly. No more “clicks” means the pouch is secured.
Close bottom of the pouch.
To remove: Carefully lift an edge of the adhesive and peel downward, gently pushing the skin away from the skin barrier. Properly dispose of the used pouch and skin barrier. Do not flush down toilet.